
Published: February 1, 2023
Without a doubt, for the last decade or so, cans have been the king of craft beer packaging with more folks looking for an easy way to take their beer on the go. In fact, according to the Can Manufacturers Institute, beverage can production across all segments jumped six percent in the United States to more than 100 billion cans last year.
And as of three years ago, over eighty-five percent of national package beer sales was in cans.
Ever since Oskar Blues Founder Dale Katechis decided to first put craft beer into a can over twenty years ago, the industry has only continued to grow.
And with an appreciation for cans has to also come an appreciation for how to identify, measure, and control the quality of those cans.
You work extremely hard to craft the highest quality liquid going inside a packaging format. So why wouldn’t you also follow all the highest quality assurance and quality control procedures that ensure your beer stays as fresh as possible before it touches your customer’s lips?
(Photograph courtesy of Fair Isle Brewing)
What We’ll Cover in This Piece:
The Advantages of Cans vs. Glass
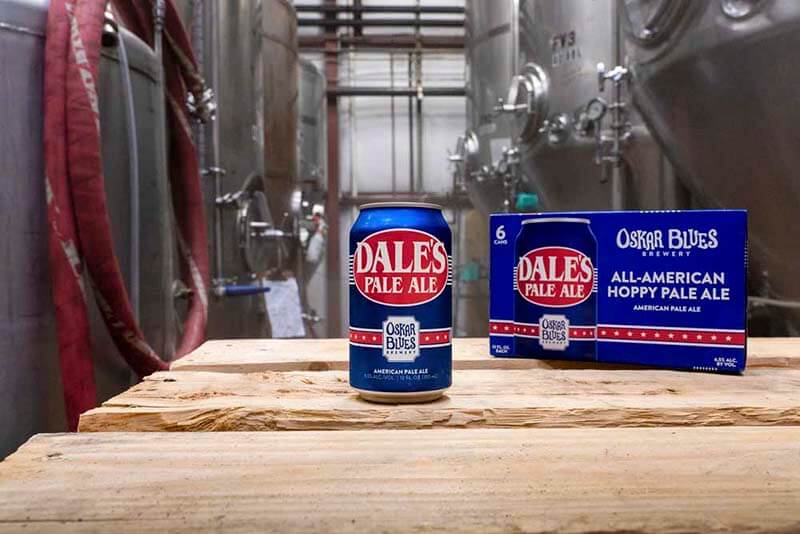
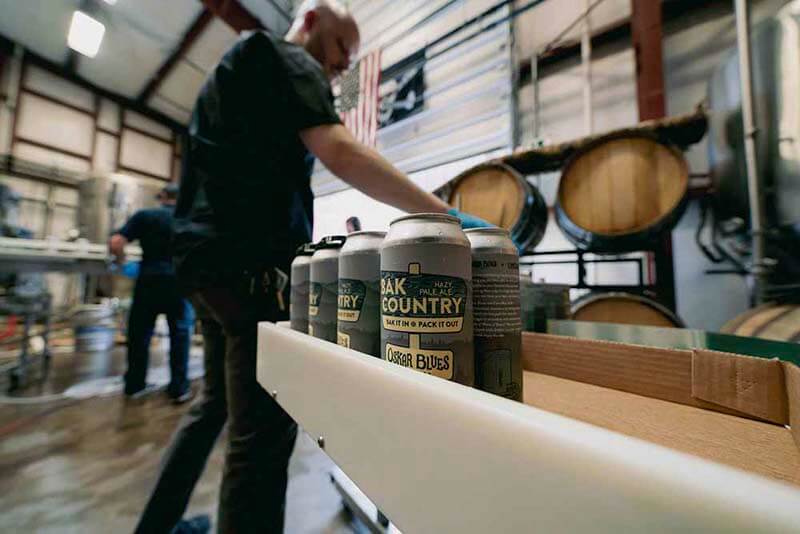
Photograph courtesy of Oskar Blues Brewery
Brewers prefer cans for several reasons. From a quality perspective, there is zero opportunity for light to enter a can and affect the beer.

The other advantage to cans is the seal,
“First and foremost, cans are totally light proof while glass has the ability to let UV light in, which can interact with hops to form lightstruck, off flavors,” says Evan Singer, national sales manager for Vessel Packaging.
Similarly, cans provide less chances for oxygen to get inside.
“The other advantage to cans is the seal,” says Singer. “Compared to any crown closure [on a bottle], the can double seam, if seamed correctly, will limit oxygen coming in over time.”
Cans are also more sustainable; they’re not only easier to recycle, but also weigh less, meaning they create a lower carbon footprint when shipped around the country.
“Cans are lighter, so less energy is involved in transport,” says Singer, who points out that they’re also less energy intensive to produce and recycle.
Finally, from a price perspective, cans cost less than bottles because of the lower overall cost of raw materials used to make them.
Return to top
Why Is It Important to Have a Canning Quality Program?
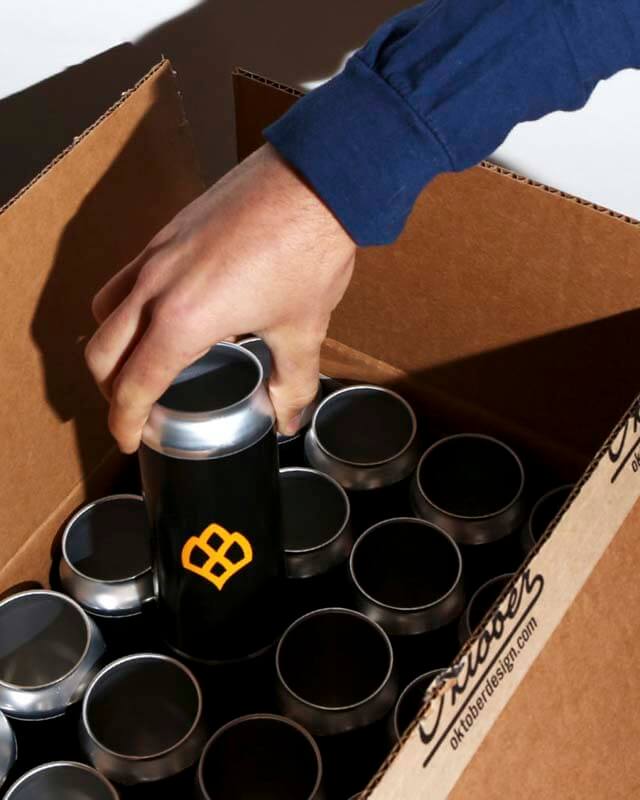
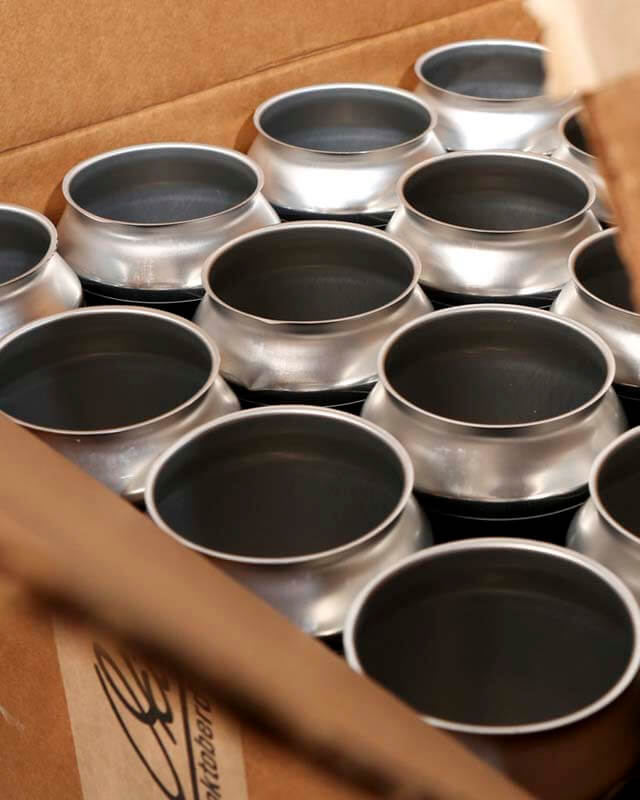
Photograph courtesy of Oktober Can Seamers
Many of the advantages of using cans will only be effective if you create and maintain a stringent canning quality program.
Yes, it may cost more time and money up front, but a strong quality program for canning your beer will be a huge investment in the long run.
In fact, the risk of not having a canning quality program is far greater than taking the time to set one up in the first place.
Quality assurance and quality control processes ensure that failures are minimized. And more importantly, make sure that if a failure does occur, you can stop that product from entering the marketplace.
Return to top
The Difference Between Quality Assurance and Quality Control
With that in mind, it’s important to understand the difference between quality assurance (QA) and quality control (QC).
- QA is the processes you put in place to meet certain quality standards that you set.
- QC, on the other hand, is the inspections you put in place to test your QA methods.
These are almost like a couple of checks and balances. QA is what you’re physically doing to make sure certain standards are met while QC is the actual tests in place to ensure those specifications.
“From a QA perspective, it’s understanding what you’re measuring and what to do in case a measurement is out of specification,” says Singer. “QC is making sure you have a program for actually executing on that, measuring, recording, and then making sure that you’re acting appropriately in case measurement is not in specification.”
When it comes to a QA/QC program for canning, Singer recommends reviewing three specific areas: oxygen, microbial control, and seams.
Return to top
How to Identify, Measure, and Control Oxygen in Cans
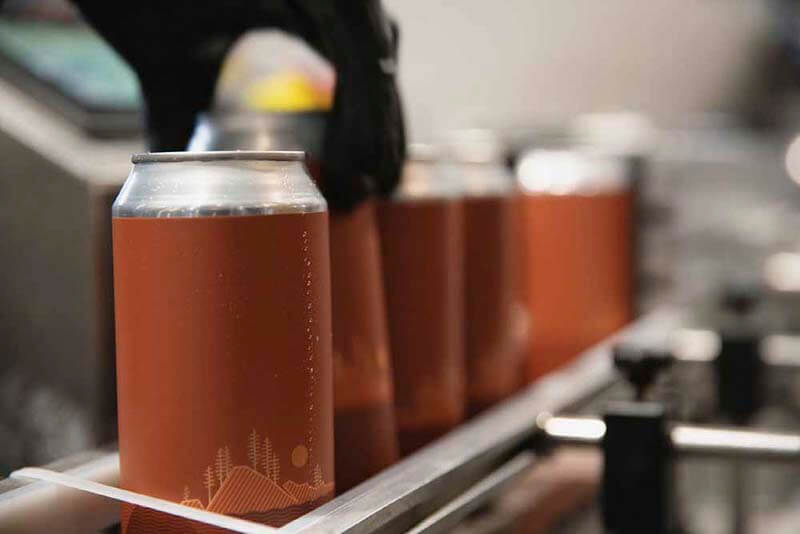
Photograph courtesy of Fair Isle Brewing
One of the most important things you can test for is oxygen. A sworn enemy of beer, oxygen, if present in a can, will degrade both the malts and hops in your liquid over time, producing off flavors.
When oxidized, malt compounds turn into trans-2-nonenal, which can give the beer stale, cardboard-like flavors. Hops, on the other hand, when introduced to too much oxygen, will degrade and generate an unpleasant bitterness.
Ideally, by the time your beer hits the packaging line, all of the oxygen should be gone, but there are lots of opportunities for your beer to pickup oxygen during post-fermentation and canning.
Potential sources include in the brite tank or packaging tank, in lines connecting the tank to your canning equipment, from bad seals on the filling equipment or improperly purged empty cans, from turbulent fill (when too much beer and ambient air is mixed as the can is filled), in the headspace between the top of the beer level and the can end, from a long or turbulent transfer of the can between the fill and the lid dispenser, or from poor seams that leak.
“Oxygen can be present anywhere in the process…[but] it’s especially dangerous after fermentation,” says Singer. “Any transfers and the packaging process itself can be sources of oxygen.”
How to Minimizing Oxygen Pickup
To minimize oxygen pickup Singer has several recommendations.
Make sure any tanks where you’re transferring are purged with CO2 or any lines that beer is transferred through are packed with deaerated water.
Cans themselves need to be purged with CO2 and lines need to be tested for leaks before filling.
Ultimately, you still need to put the entire canning line through certain rigors to ensure that oxygen isn’t present or is present in acceptable levels throughout the can.
The Tools You’ll Need to Test for Oxygen While Canning
The main measurement tools to use while testing oxygen along the canning process are a Can Piercer and a Gehaltemeter, a dissolved gas meter.
Singer says Vessel Packaging uses a Gehaltemeter made by a company called Haffmans Pentair, but there are others available on the market.
The Gehaltemeter is used to test oxygen in the liquid before it goes into the can. You’ll connect the Gehaltemeter to the source of liquid by hooking it up directly to a spigot on the packaging tank, beer will flow through the meter, and the tool has a sensor to see how much oxygen is in the liquid passing through.
A Can Piercer is an additional piece of equipment you’ll need to measure any oxygen pickup inside the can.
This piece of equipment pokes through the can with a steel pin, forming an airtight seal, and uses CO2 to push beer out and into the Gehaltemeter, making sure no air comes in.
Photograph courtesy of Oktober Can Seamers
Oxygen Measurements to Take While Canning
There are two measurements you want to take when testing for oxygen during the canning process: dissolved oxygen (DO) and shaken dissolved oxygen (SDO), which is approximately total package oxygen (TPO).
DO – This measurement tells you how much oxygen is being picked up by the beer traveling and filling into the can.
SDO / TPO – To measure SDO or TPO, “you’re shaking the can to get all the oxygen from the headspace dissolved into the beer and measure that way,” says Singer. “The TPO will tell you how much oxygen is left over in the head space in the beer.”
Singer says that “figuring out ways to get as much oxygen out of that head space is key.”
In terms of the oxygen measurements you deem acceptable, “I’d say the level of oxygen control will be related to how you’re selling your beer,” says Singer. “It’s much more important for a brewery with wider distribution—longer time from package to consumption—to make sure that oxygen is as low as possible.”
Whereas, for a brewery that’s selling exclusively out of their taproom—with beers consumed arguably in a day or two—oxidation isn’t as much of an issue.
“[But] if it’s weeks or months from packaged date to consumption, then it’s really mission critical to keep that oxygen as low as possible,” says Singer.
The rough measure of acceptable level will vary brewery to brewery and based on how you’re measuring, but Singer gives some standards that Vessel Packaging follows:
For DO, you need to limit as much possible pickup from tank to DO at about 20 parts per billion (ppb).
And for TPO and SDO, a good rule of thumb for anyone who is distributing is under 100 ppb of TPO or SDO.
How and When to Test for Oxygen While Canning
First, you need to test that packaging tank at the very beginning of the run to serve as a baseline. If there are problems here you can guarantee there will be oxygen pickup in the cans down the line.
Second, “We’ll test at the filler itself before any cans are filled to make sure the line is set up appropriately,” says Singer. “We want to eliminate any pockets of air that could be in the line or any loose connection in the line that can suck air into the beer.”
Vessel Packaging will also test the cans before the start of the run and the fill head.
“The way the filling line works, there is an inlet for beer and a manifold that goes to the four or five separate fill heads and you want to make sure every fill head is reading low,” says Singer. “If four are working but one isn’t, then twenty percent of the beer will be oxidized, and that’s not something we want.”
Assuming that everything looks good across those four places before starting to package, you should continue to test cans randomly over the run. Frequency here really depends on the product you’re canning. For example, if you’re packaging something like a Russian imperial stout, where the risk of oxidation is low, but the liquid itself is really expensive to make, you may not want to test as many cans as you would with, say, a light lager, where the liquid is less expensive but more prone to oxidation.
Regardless of the style, the key is to test immediately after filling. “The longer the can sits, the less accurate that test will be because oxidation happens immediately,” says Singer.
He continues noting that, “as long as the DO and TPO in the can doesn’t look worse over time, we won’t go back and test the line or the tank because if the end can is good that means there won’t be an issue upstream.”
Return to top
How to Identify, Measure, and Control Microbes in Cans
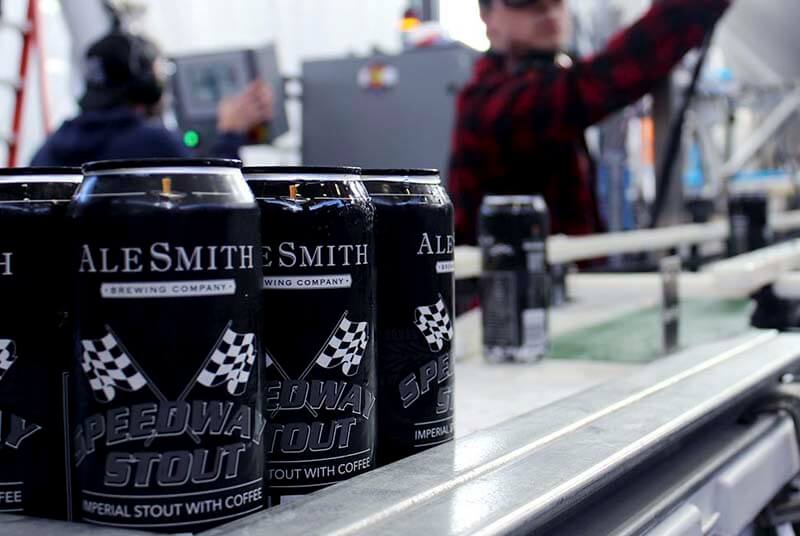
Photograph courtesy of AleSmith Brewing Company
Microbes infecting beer are a concern even earlier in the process than oxygen. As soon as you finish brewing on the hot side—the wort is cooled and sent to the fermenter—it becomes open to microbial contamination.
“Anywhere from yeast that’s used to fermentation to the tank itself to oxygen used for aerating wort can be a source of contamination,” says Singer.
On the packaging side (assuming the beer is clean in the packaging or brite tank) it is extremely important to eliminate microbial exposure.
This means checking hoses that are being used and lines from the tank to the filler, basically any inputs to the canning process.
That includes sources like the water used for rinsing lines and cans, the CO2 used to put head pressure on beer in the tank or to purge cans, the cans themselves, and even the fill equipment. All can be potential sources of contamination, according to Singer.
You want to avoid introducing microbes into packaged products because they can produce undesirable flavors in beer. And perhaps most importantly, they can potentially ferment some unfermentable sugars, leading to additional CO2 buildup and eventually an exploding can.
Since there are a lot of potential sources of contamination, how do you test for them all?
The best way to keep microbes out of beer is to have a very thorough cleaning process.
How to Minimize Microbe Pickup
For things like the water you’re using to rinse cans, you need to disinfect the water with a diluted sanitizer. “Make sure it’s a no-rinse sanitizer, so it doesn’t affect the quality of the beer,” says Singer.
When it comes to the filler, you need to do a full Clean in Place (CIP) before and after each run. Here Singer recommends that you follow the recommendations from your can line and chemical manufacturers. Those will determine the type of chemical you use, the concentration of chemicals, the time you use to circulate the chemicals, the temperature you circulate, and the mechanical agitation or speed and pressure you need to run the chemicals through the lines.
Microbe Measurements to Take While Canning
To verify that a CIP was successful, you’ll need adenosine triphosphate (ATP) bioluminescence swabs and meters. Since ATP is present in all living cells, the swabs include a chemical that makes it glow in the presence of ATP.
You swab a surface, put it into the meter, and receive a reading in relative light units (RLU).
While there is no number that absolutely says a surface is clean or dirty, Singer says at Vessel Packaging they like to see an RLU of 0, “but every meter has its own scale of what’s an acceptable reading and what’s an unacceptable reading,” he says.
It’s basically a yes/no test: Either there are microbes present or there aren’t. It’s also important to remember that ATP swabbing can’t tell you what microbe might be present on a surface, just that there is or isn’t some living organism present.
As a caveat, Singer makes sure to mention that swabbing and getting a 0 RLU reading doesn’t guarantee the entire system is clean. “It just means that the surface you swabbed is clean,” he clarifies.
Photograph courtesy of Oskar Blues Brewery
How and When to Test For Microbes While Canning
For that reason, you’ll want to swap all the highest-risk points of contamination.
These include fill heads and lid dispensers. Plus, you should run liquid through the lines and swab the water “to see if anything is hidden,” says Singer.
Some operators will even swab their own hands and use that as a positive control. In other words, swab a surface you know is dirty and get a reading from that. If the meter does not give you a positive reading, then there is probably something wrong with the meter.
Again, getting a 0 reading (or one underneath the recommended threshold) just means that the surface you swabbed is clean. This test doesn’t give you a one hundred percent guarantee that microbes aren’t present somewhere else.
“Getting a 0 reading is a good indicator there is no obvious contamination, but it doesn’t necessarily guarantee beer will be clean,” says Singer. “The beer could be inoculated with something before filling or something hidden in a machine that’s not cleaned.”
While there is no one hundred percent way to eliminate microbes, the strongest method is to follow strict cleaning practices before and after packaging.
Return to top
How to Identify, Measure, and Control Can Seams

Photograph courtesy of Oktober Can Seamer
Seams ensure that a can stays structurally sound, preventing oxygen or light from getting inside to potentially degrade the beer.
Even just one leaking can might destroy an entire pallet or even force a recall. Whereas oxygen or microbial contamination might not even be noticed by the consumer, ruptured seams are pretty easy to see on the shelf. If a retailer puts out a broken can, consumers can find those deficiencies before they even buy the product.
For that reason, the best practice is to test your can seams while they’re still in your facility.
But what should you measure to know you have a good seam?
Understanding Can Structure
Before we can answer that question, it’s important to understand can seamers and can construction.
As Singer explains, there are three pieces in a seamer—the chuck, which holds the seam, and two dies—one to curl the lid underneath and the second to iron the finished seam.
For the cans themselves, there are three different styles of ends:
- LOE/B64 – the industry standard that’s more of an old-school product.
- Superend – a proprietary version.
- CDL+ – a more universal version of the Superend.
Each of these specific cans also requires specific types of lids. “So if you try to use a Crown Superends on a B64 or CDL tooling, you’ll never get a good seam because the lid is profiled differently and the tooling won’t work,” says Singer.
So first and foremost, make sure that you’re using the right lids with the right cans. It’s sort of a “don’t try to fit a square peg in a round hole” type of lesson here.
Plus, the size of the cans you use will specify what type of end you need. Here’s a handy guide to common can formats:
- Standard 12oz or 16oz can requires a 202 end (it can be 202 LOE/B64, 202 CDL, or 202 Superend)
- Slim cans use a 200 end (it can be 200 B64 or 200 CDL)
- 24oz cans use a 206 or 209 end (depending on the can manufacturer, it may only come in B64)
- 32oz cans (crowlers) use a 300 end
So, make sure you have the right end for the can type and size you’re using.
Lastly, you need to make sure that the tooling itself isn’t past its life cycle. “There is a period for tooling, a certain number of cans it will be able to seam correctly,” says Singer. Keep up appropriate maintenance and cleaning on your seamer to minimize mechanical failures because those are a sure way to never produce a good seam.
This includes cleaning and lubrication. “Beer is incredibly sticky and can jam up moving parts, causing unnecessary wear,” says Singer. “Moving parts need to be lubricated according to manufacturer’s specs, typically after cleaning to ensure any oil applied is not just washed away.”
Manufacturers provide preventative maintenance schedules to ensure that parts that often show wear and tear—seals and bearings—are inspected and replaced as needed.
But even if you have the correct cans and ends and keep up your can seamer, seams can still start to drift over time, meaning you need to measure them on a regular basis.
Photograph courtesy of Oktober Can Seamer
How to Measure and Test Can Seams
At the most basic level, you can take the external measurements of the seam height and seam thickness, recording them over time.
These can both be done with a micrometer, which typically costs around $500. “You don’t need to tear apart a can to do that or need expensive, specialized equipment,” says Singer.
However, this is the bare minimum of measurements you can make. Since you’re really relying on the operator, these measurements can vary person to person. And there is no accountability.
“You have to trust someone to take the measurement and record it correctly,” says Singer. “The operator may just want to get through the run and not identify a potential problem.”
A Vision System, on the other hand, is the gold standard of seam measurement. This machine does a destructive test, cutting into the seam and taking a high magnification image of the cross section.
Typically, a Vision System also comes with software that not only does the analysis based on the specific lid and can specs you feed it, but also records it. Over time you can compare those measurements, picking up on anything that falls out of spec.
“It’s a good way to see if there is a drift in measurement, so you can address issues before they come up,” says Singer. Based on this information you can do the required maintenance on the seamer or make adjustments so you don’t get bad measurements while filling cans.
The downside is that these systems are fairly expensive, costing around $50,000.
For breweries that are running high-speed fillers and packaging tens of thousands of barrels of beer a year, a Vision System is a pretty important investment.
For smaller breweries filling and packaging somewhere around the single-digit thousands of barrels of beer that aren’t able to make that investment, Singer recommends finding a mobile canning or packaging company that can randomly test the seams in their own Vision System off site for you.
Vessel Packaging offers seam testing to any customer that wants to send in a random can and get help troubleshooting.
Return to top
6 Important Questions to Ask Any Mobile Canner
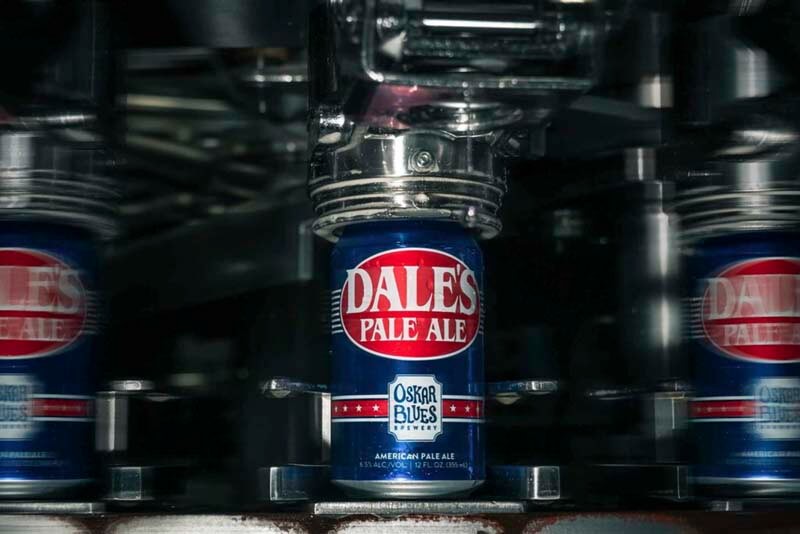
Photograph courtesy of Oskar Blues Brewery
If you own your own canning line, you will perform all of the above tests on your packaging line. But if you go the route of mobile canning, then you want to make sure that you work with a mobile canner that understands these operations and procedures.
Singer recommends asking these questions to any mobile canner before working with them:
- What equipment do you use to check oxygen, seams, and sanitation?
- What types of products do you fill, and if anything contaminates beer, either micro or flavor wise, what procedures do you have between those products and beer?
- What are your requirements for utilities, space, manpower, etc. for canning (i.e. what type of power connections, CO2 connections, water, compressed air, etc.)?
- What are your requirements for beer specifications with respect to temperature, carbonation, ingredients, etc.?
- What are typical/acceptable waste targets in terms of liquid and materials, and what are your policies with respect to corrective action in the case of excess waste?
- What materials do you supply vs. materials I need to supply, and what are the specifications for those materials?
Beyond those basic questions, you’ll also want to make sure that any mobile canner you work with is willing to share documentation on their operational and quality procedures, clearly communicates what your responsibilities are versus their responsibilities, uses a high-quality canning line, has good references from respected breweries or breweries you trust, and provides you with canning reports on fills, waste, and quality checks.
Brew Your Best Beer. Get Ollie.
A brewery management tool built by brewers and for brewers. Handle everything in your brewhouse from recipe development to cost management. All with one easy-to-use platform. Request a free demo today.
Return to top

About The Author
Grace Lee-Weitz
Grace is the Managing Editor for Hop Culture and Untappd. She also organizes and produces the largest weeklong women in craft beer festival in the country, Beers With(out) Beards and the first-ever festival celebrating the colorful, vibrant voices in the queer community in craft beer, Queer Beer.
An avid craft beer nerd Grace always found a way to work with beer. After graduating with a journalism degree from Northwestern University, she attended culinary school before working in restaurant management. She moonlighted as a brand ambassador at 3 Sheeps Brewing Co on the weekends before moving into the beer industry full-time as an account coordinator at 5 Rabbit Cerveceria.
Grace holds her Masters degree in the Food Studies program at NYU.
More From Grace